STURDY CAKE STACKERS
The Sturdy Cake Stackers* cake support system has been designed to take the stress out of travelling with a tiered cake. It can be used as wedding cake supports or with any other tiered cake. Whilst it has been specifically designed to help prevent cakes toppling over during transportation, you can also use it in a creative manner to support your design or use the stacker itself as part of the cake decoration
Check out our Products
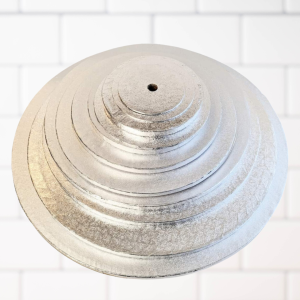
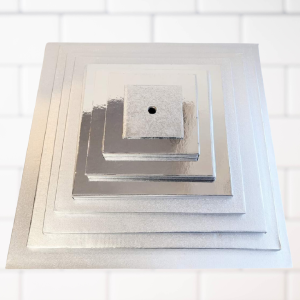
Cake Boards
Supplied with a pre cut hole ready to use with the Sturdy Cake Stacker. Available in a number of sizes.
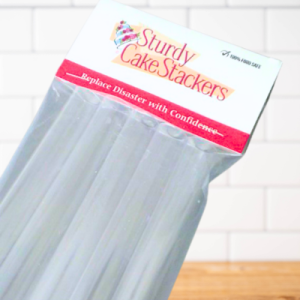
Dowels
perfect for supporting your cake’s tiers and very easy to use. Can be cut to size easily with scissors
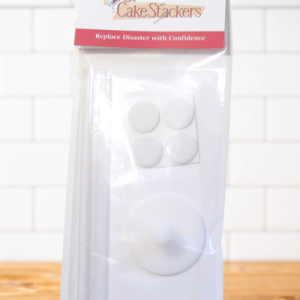
Stacker Sets
Simply cut to the required length and slide your cake tiers onto the support. You can even use creatively it as part of your cake design!
Client Testimonials
Dont’t take our word for it – here’s what our clients say:
We now stock the amazing Sturdy Cake Stackers online! Brilliant for transporting and avoiding collapsed cakes disasters…
Loved making this #minion #golfcake using the great Sturdy Cake Stackers
So excited! Sturdy Cake Stacker ordered #nocarworries. Looking forward to a stress free car journey!!!